
Styling
Let's get started with the styling of the template.
Colors
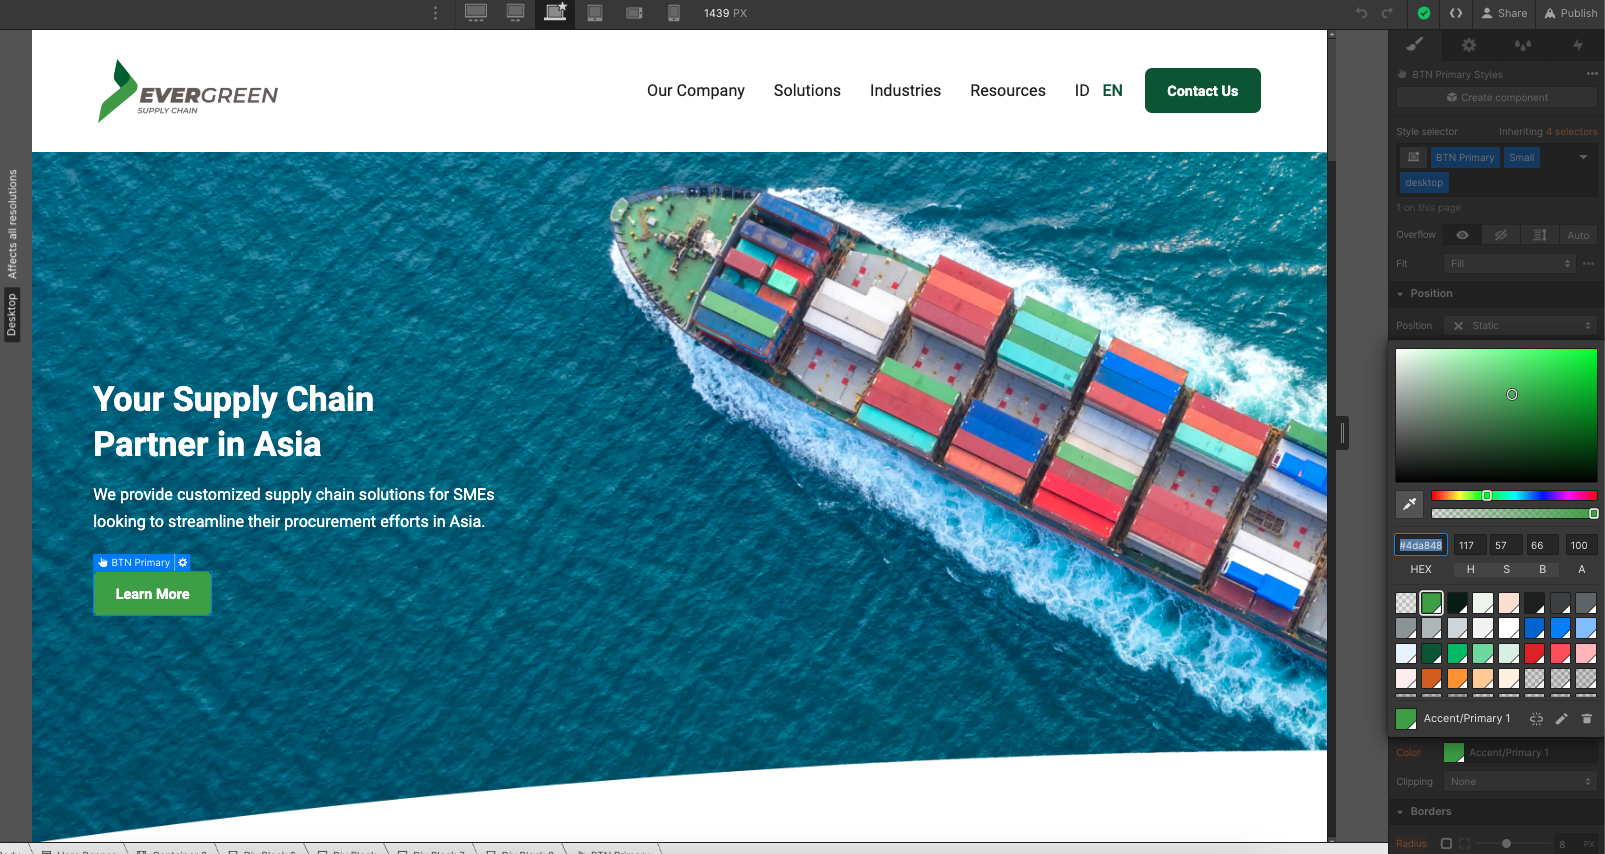
Evergreen template is built using Color Swatches, meaning that you can easily edit a color swatch to be updated site-wide.
In order to do this, you just need to go to the Style tab in the right sidebar, then scroll to Colors in Typography section, and if you click the color, you will be able to see all color swatches and edit them to be updated site-wide to any color needed.
Fonts
Evergreen template uses one single font side-wide, and it's set up in the Body (All Pages) selector, so this means you can easily update the font on all the site in one click.
On any page, just click the orange selector option in the top right of the Style tab, and then select Body (All Pages). Once with this, you can go to Typography section below and change the font to any font for your business brand.

In case you need a custom or premium font that is not available on Webflow, you can always go to Project Settings > Fonts and you will be able to upload custom fonts, or connect your Adobe Fonts account.

Graphics & Icons
Some icons or graphics in the template are normal images/graphics, so you will notice that when updating all colors, these will still have the template color.
This happens because these graphics are images (PNG, JPG, SVG, etc), so updating the Webflow CSS (styling) won't affect them. If you would like to reuse this graphics, you can always download them and edit them using any design software (i.e. Photoshop, Illustrator, Sketch, Figma, etc), or directly upload your own images/graphics that match your brand.
Editing Pages
Now it's time to continue with the next steps to edit your website pages. Usually there are 2 types of content that will be edited, which are the following.
Static pages
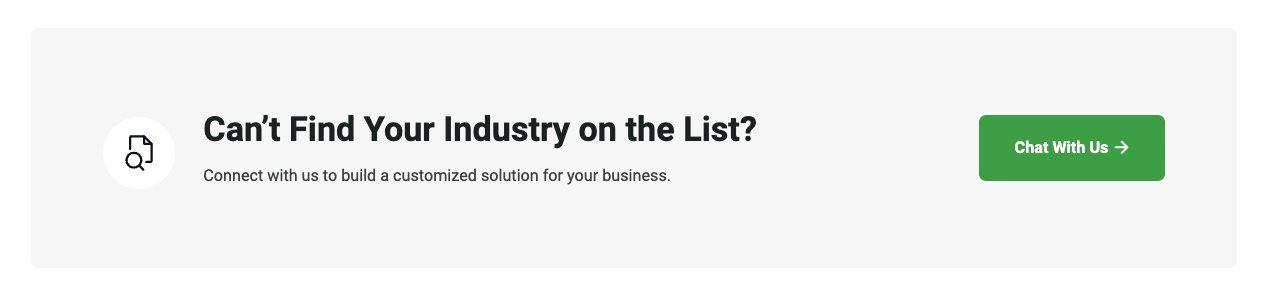
Static Content is all the content that is not CMS-based, which means that it is not dynamic (like a Blog Post, for example).
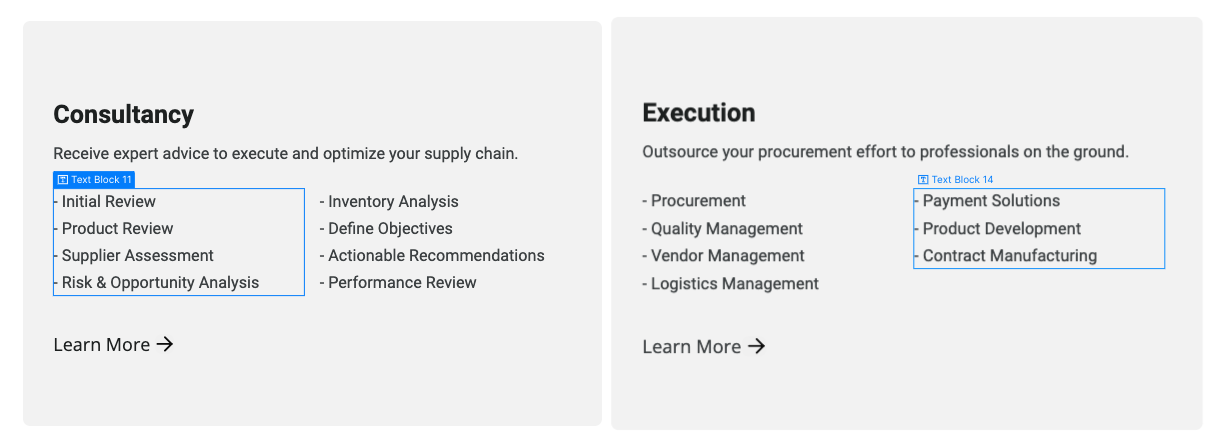
You can easily identify all this content because it's shown as grey in the left sidebar Navigator, and it shows a blue border when you click or hover over it.
If you want to edit this type of content, you can just double click it, and you will be able to directly type right there.
Dynamic Content (CMS)
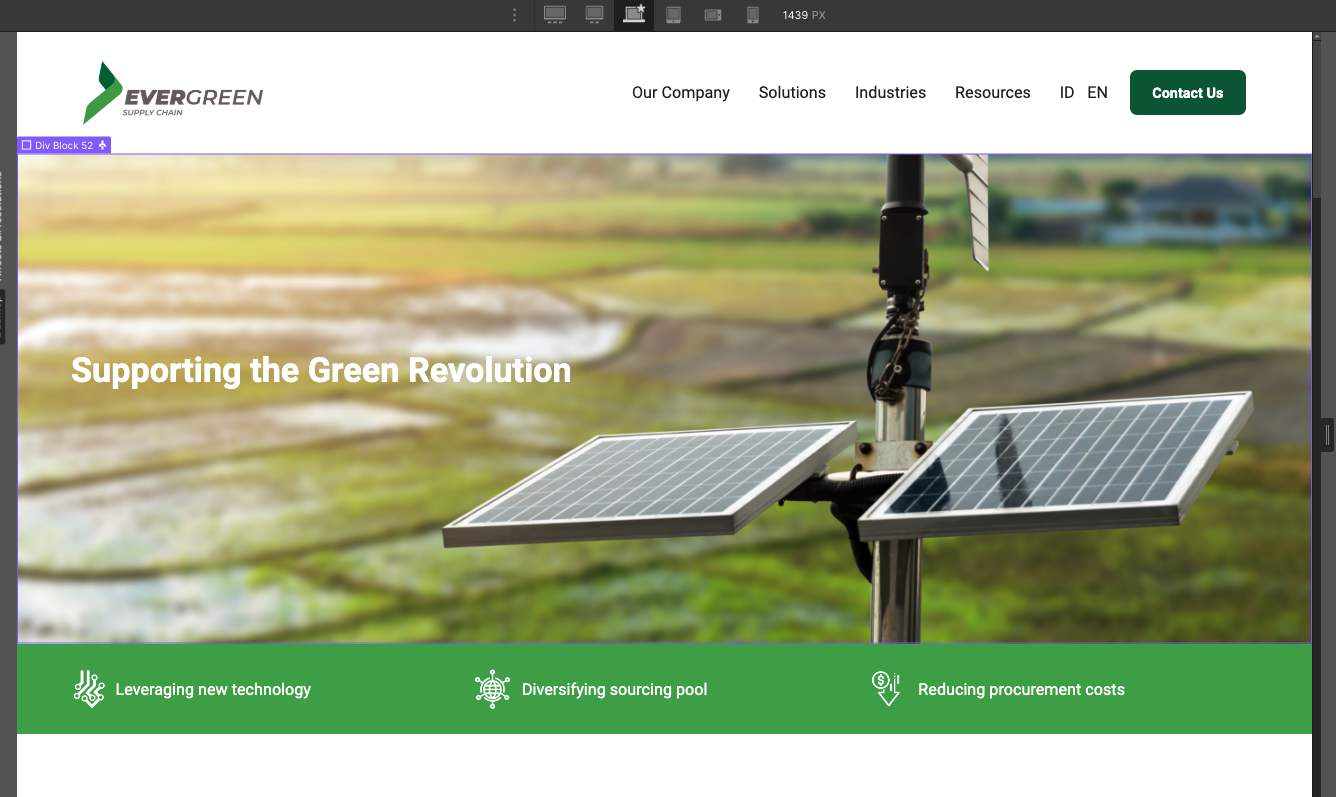
Dynamic Content is all the content that is dynamic and will be auto-generated based on the content added in the CMS section in the left sidebar (just below Pages icon).
You can easily identify all of this because it's shown as purple in the left sidebar Navigator, and it shows a purple border when you click or hover it.
This content should be updated directly in the CMS section. This is meant to make it very easy for you to update it, as it's very likely it will need to be constantly updated (For example, adding a new blog post)
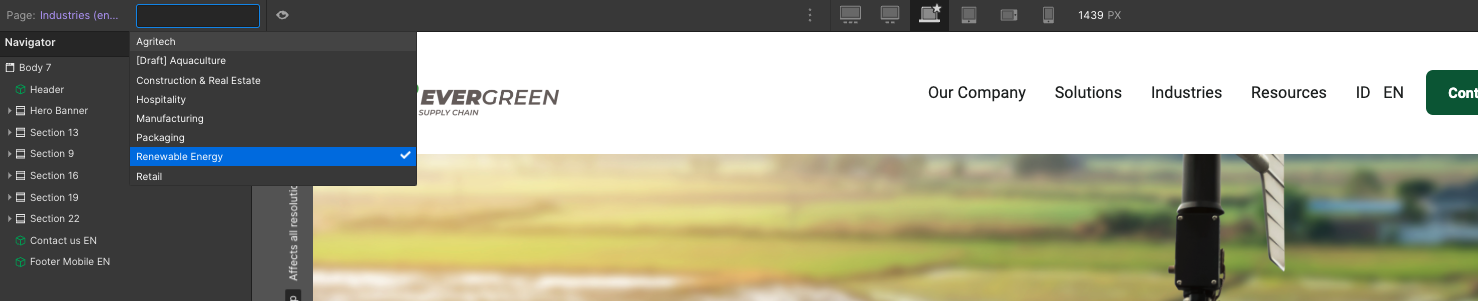
Also, if you want to edit a complete auto-generated CMS page (for example, a Blog Post), you will find this page available for editing in the bottom of all pages in the Pages section in the left sidebar.
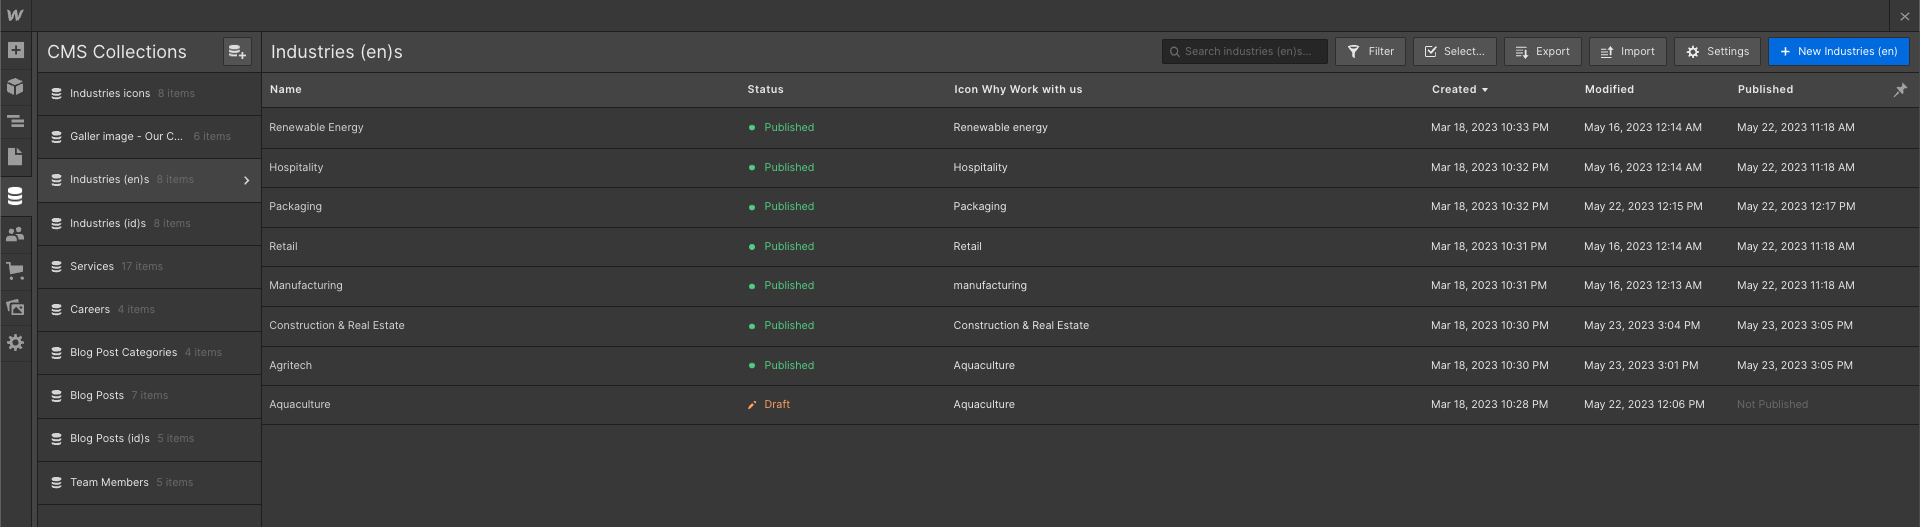
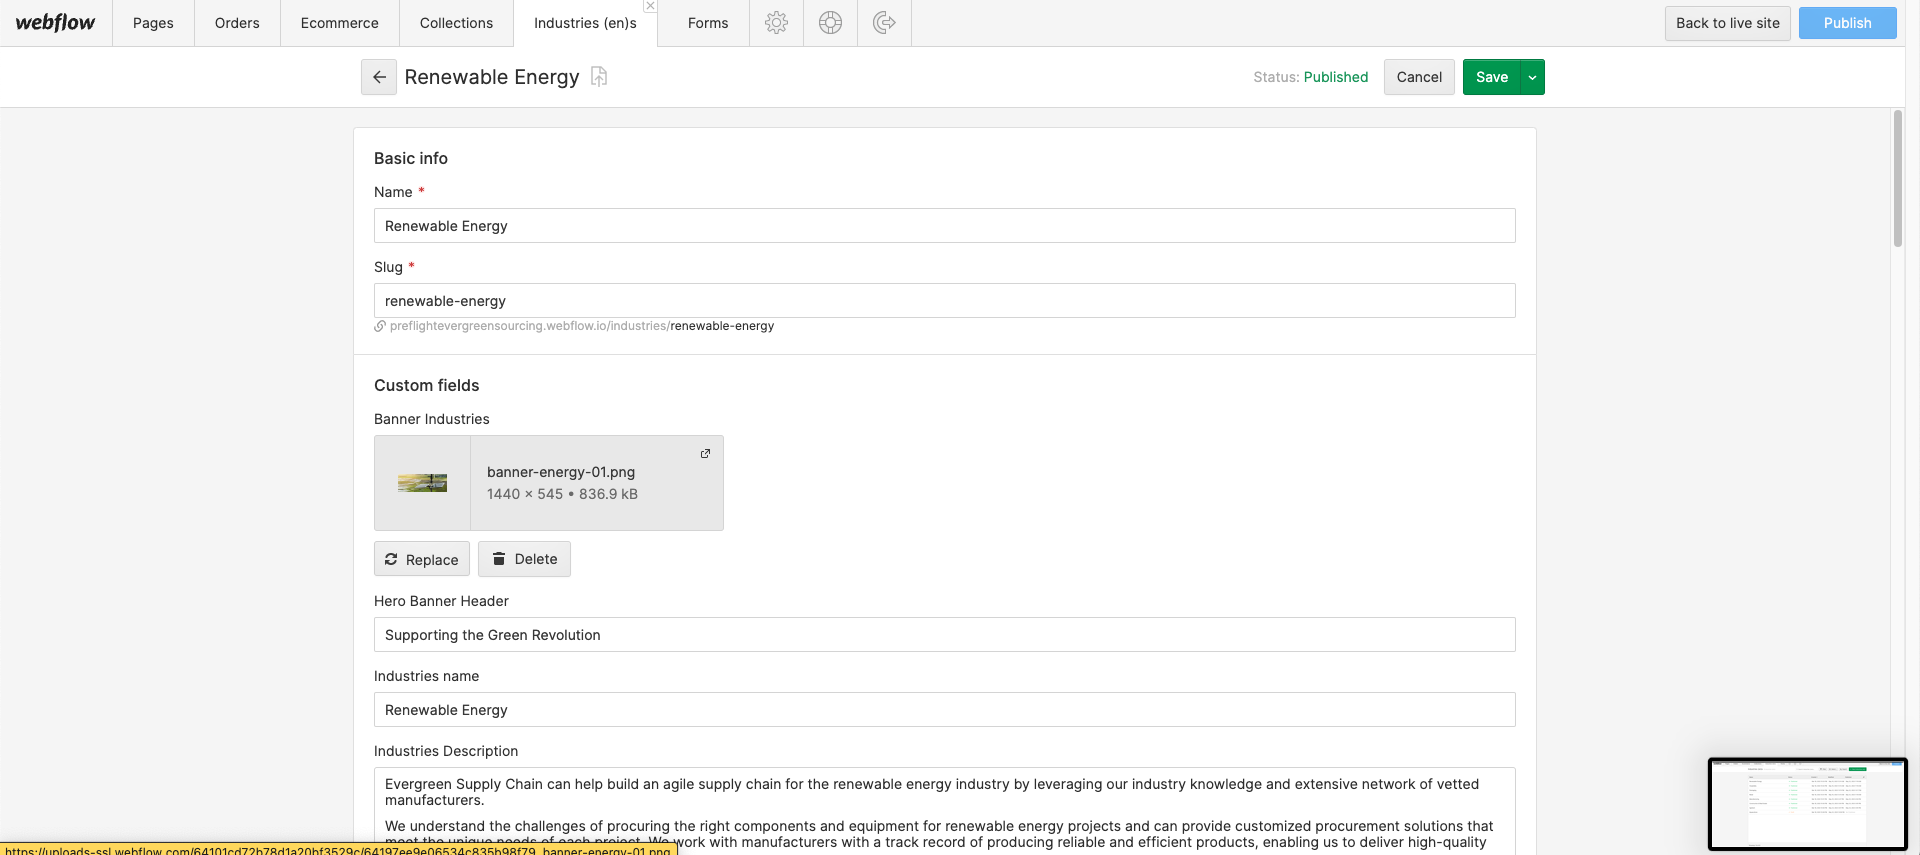
Add Item on CMS
All of the content in CMS group will be added here and it will generate the same template as the other pages with the same classes. To add new item you can click the blue button on the top left corner that say " +new industries (the name "industries" will be different with the other collection)"
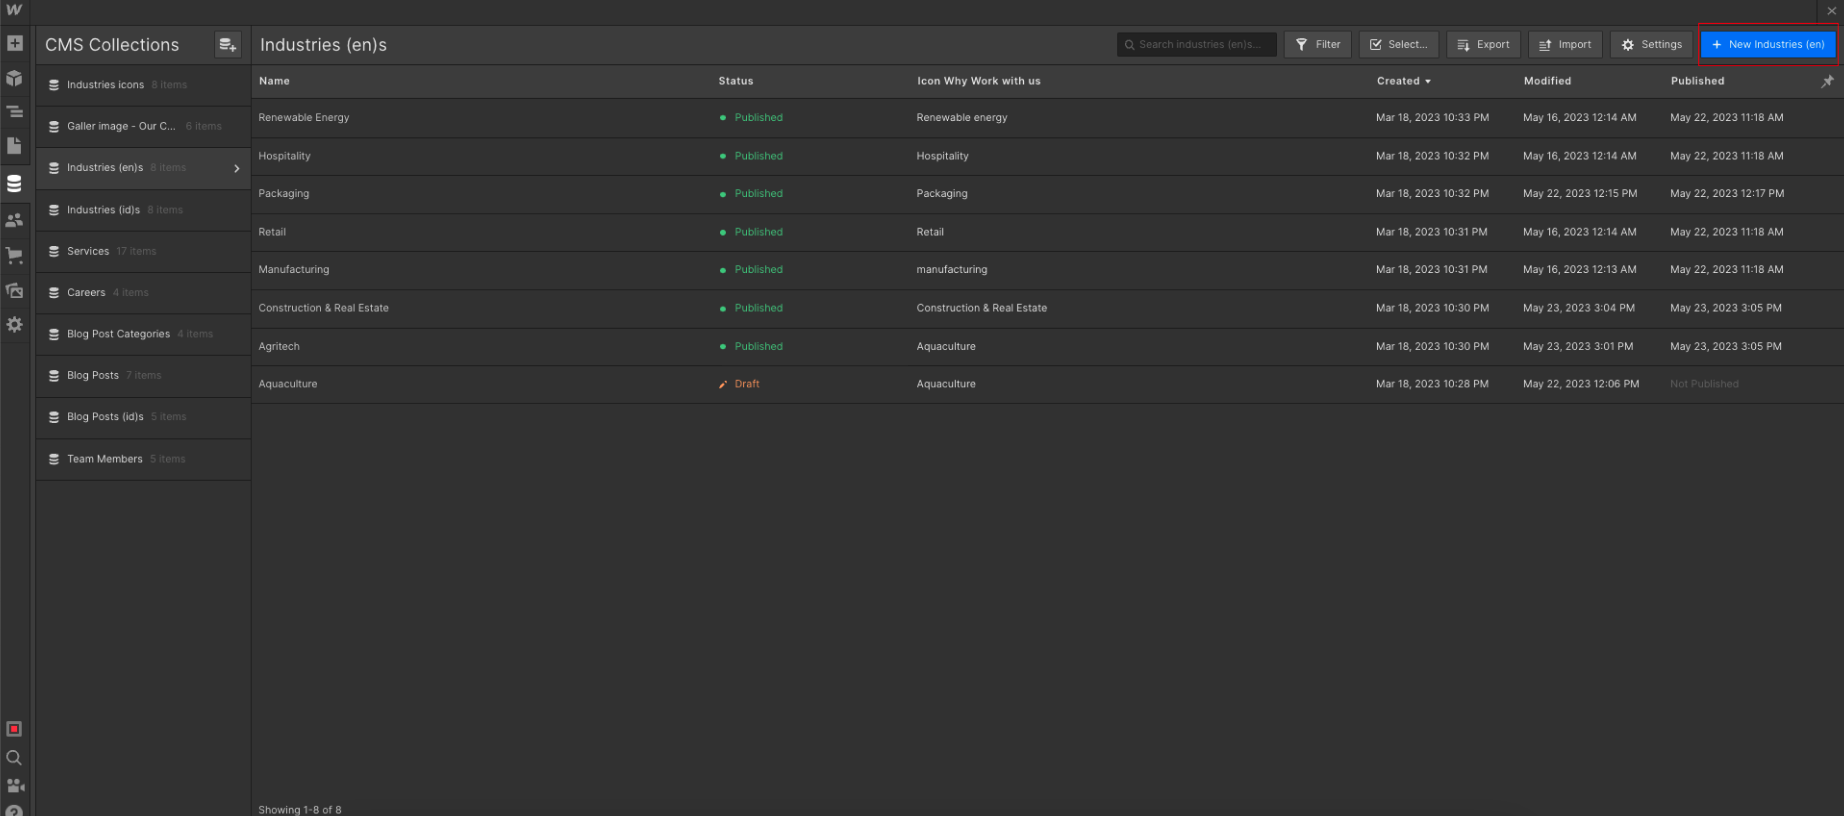
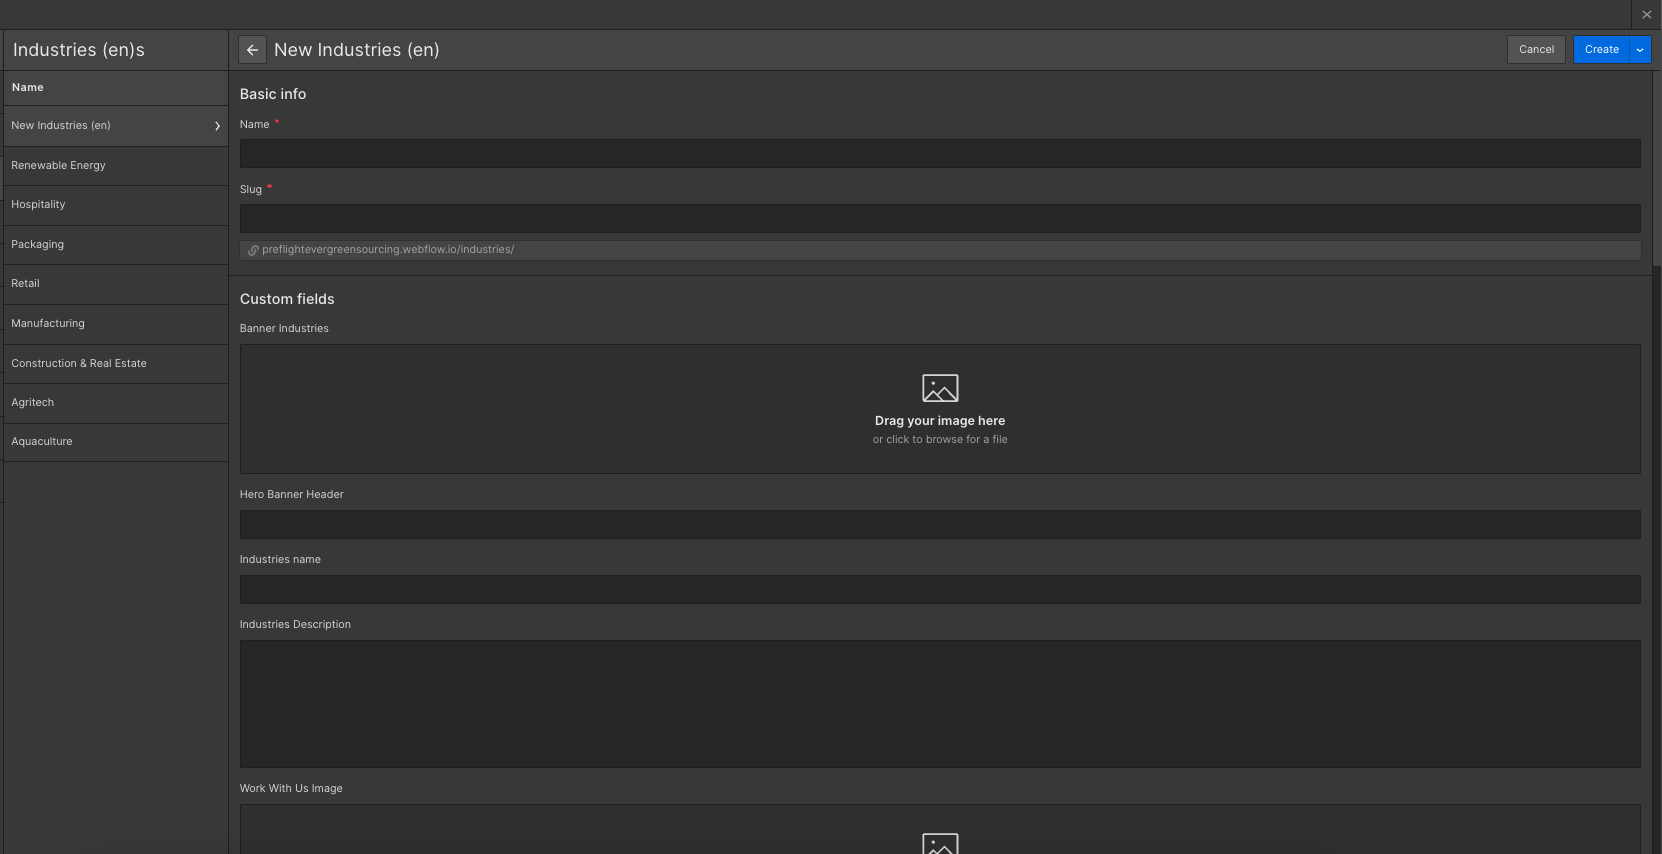
After you click that button it will show a form with multiple field for you to add. You add the content here and after you're done with all the changes you can press "create" and then publish it to the live site.
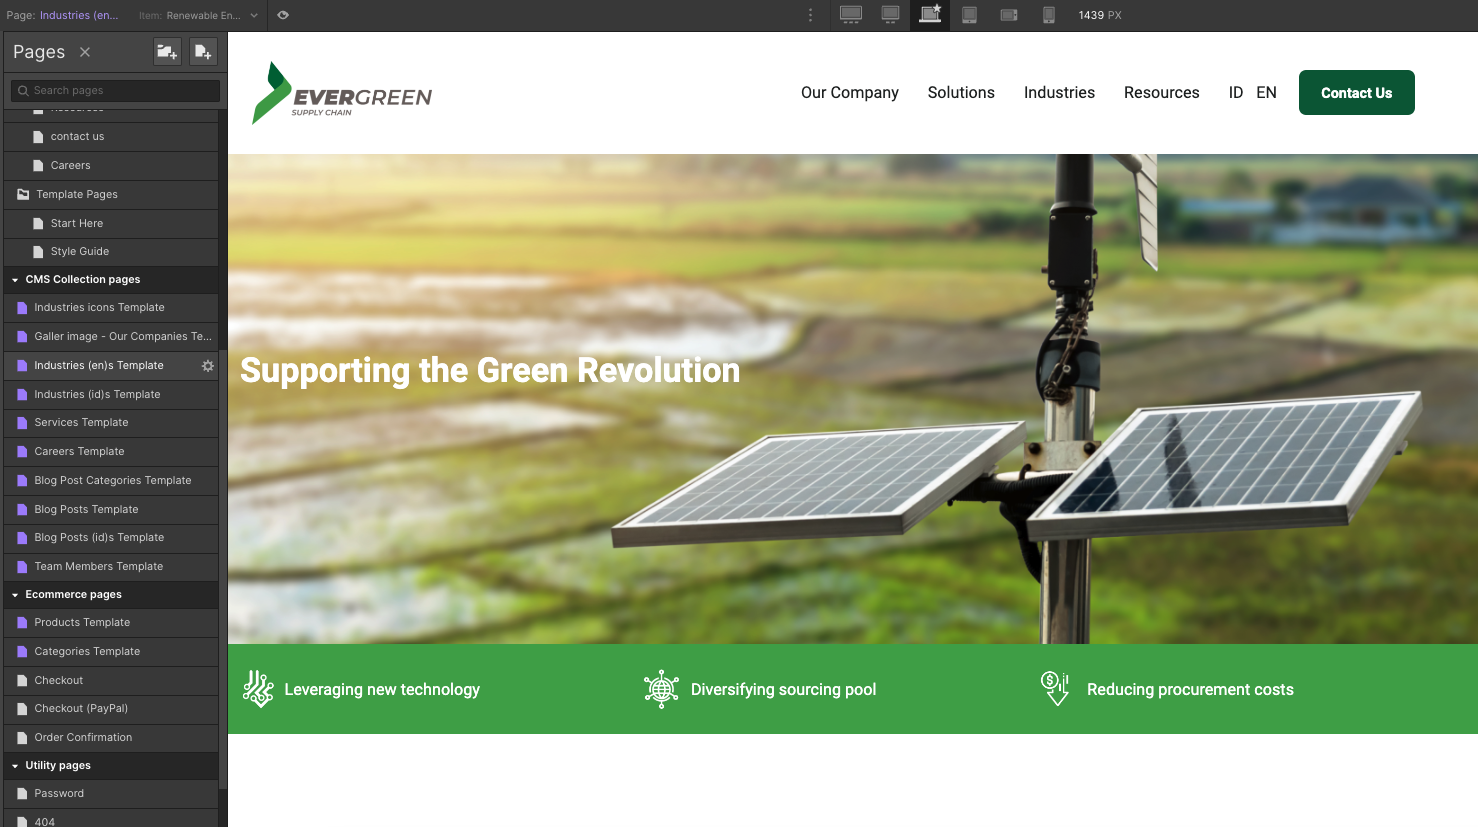
After you create the new item on CMS you can immediately see the new pages that appears on your top left screen like in this picture
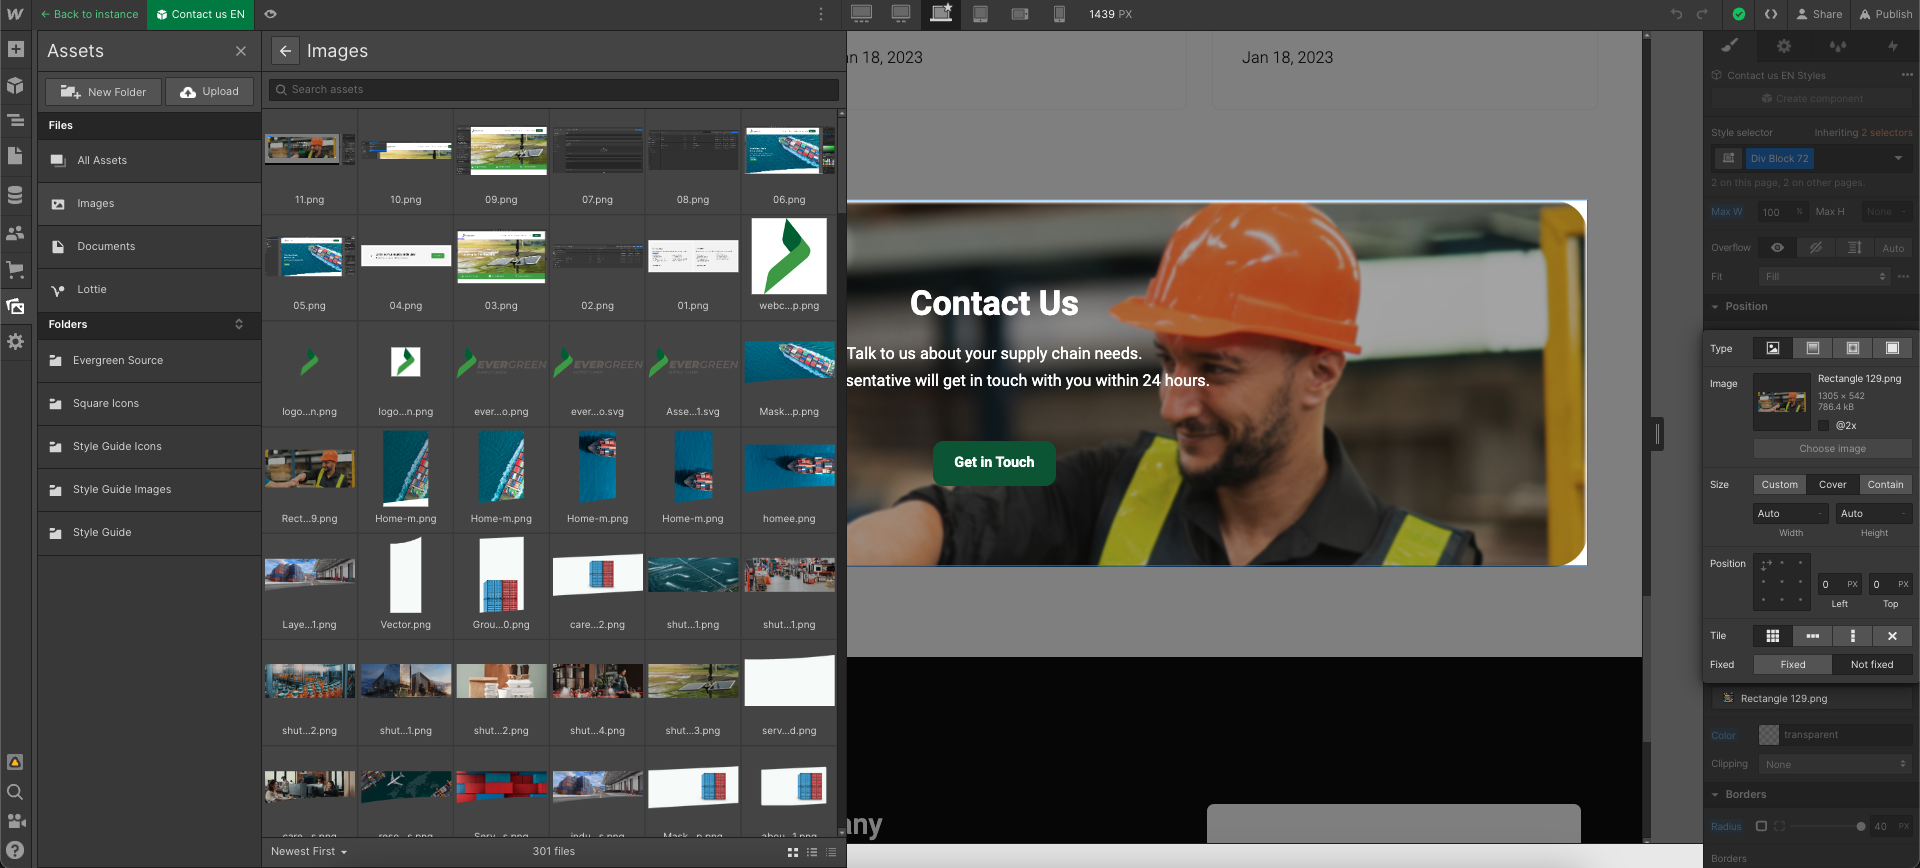
Add Background Image
to add or change image on the background you can select the item and then go to
backgrounds > image & gradient > choose image
You can easily drag and drop the image to Assets menu that will pop-up on your screen.

Useful Notes
Also than the main basic explanation we shared above, here we share a few tips and how-to's which are from the most common questions we receive.
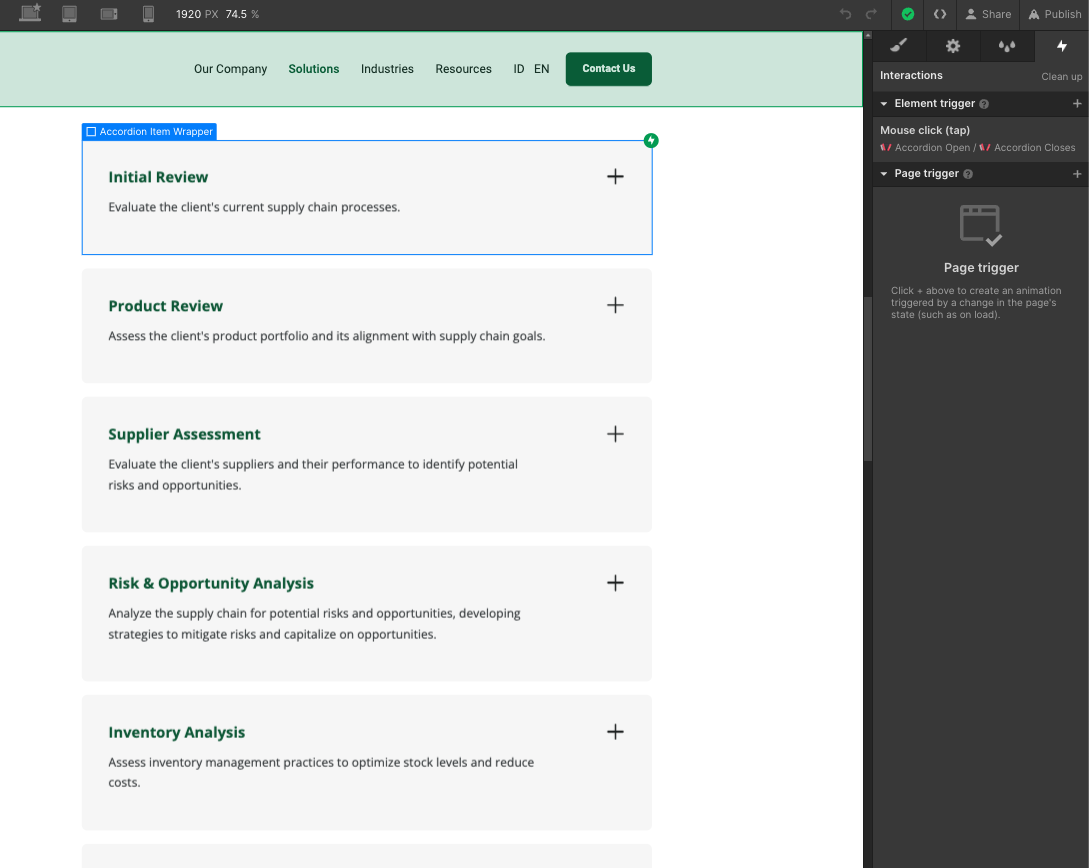
Interactions
If you would like to edit any template Interaction (i.e. removing a appear effect), you can easily identify elements that have interactions as these have a small Interactions icon (a small thunder) in the left sidebar Navigator.
If you click this little Interactions icon, you will open the right sidebar Interactions tab for this element, where you can edit the interaction.
Mobile or Tablet View
Everytime you make a change (for example, you create a new section design), it's a good practice to go to your Viewport top navigation and see how it looks on Tablet and Mobile.

If you only edit a Template section with updated text or images and you don't erase any Template class, this should not be needed, however, if you customize the template more deeply, edit classes, or create new sections, it's always good to constantly edit your mobile and tablet views to ensure everything is looking perfect.
Editing Meta Title, Desc and Featured Image
If you would like to customize the Title, Description and Image that is shown when you share your website on any place (i.e. Facebook, Twitter, etc), you can easily go to the Pages section in the left Sidebar, click the little Settings icon of the page you would like to customize, and all these settings will appear.
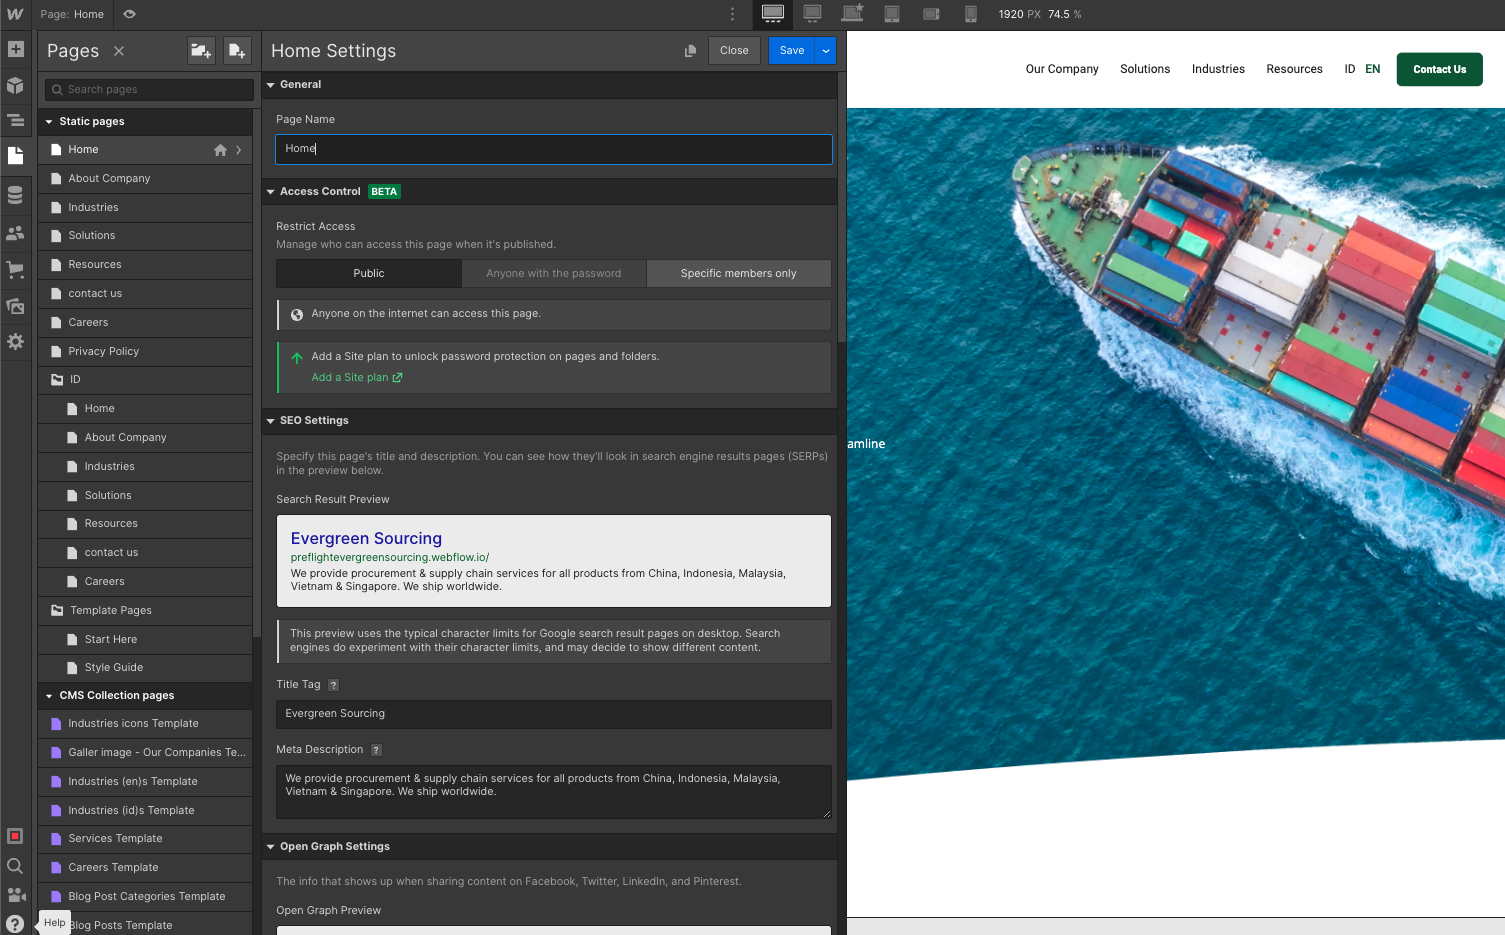
Please note it's important to change this on page basis.
Backups
If something goes wrong, for example, if you are not liking where the website is going to, if you deleted some critical classes that were required to make the Template look nice, or if you just want to go to a previous version for any reason, you can always go to the Backups section.
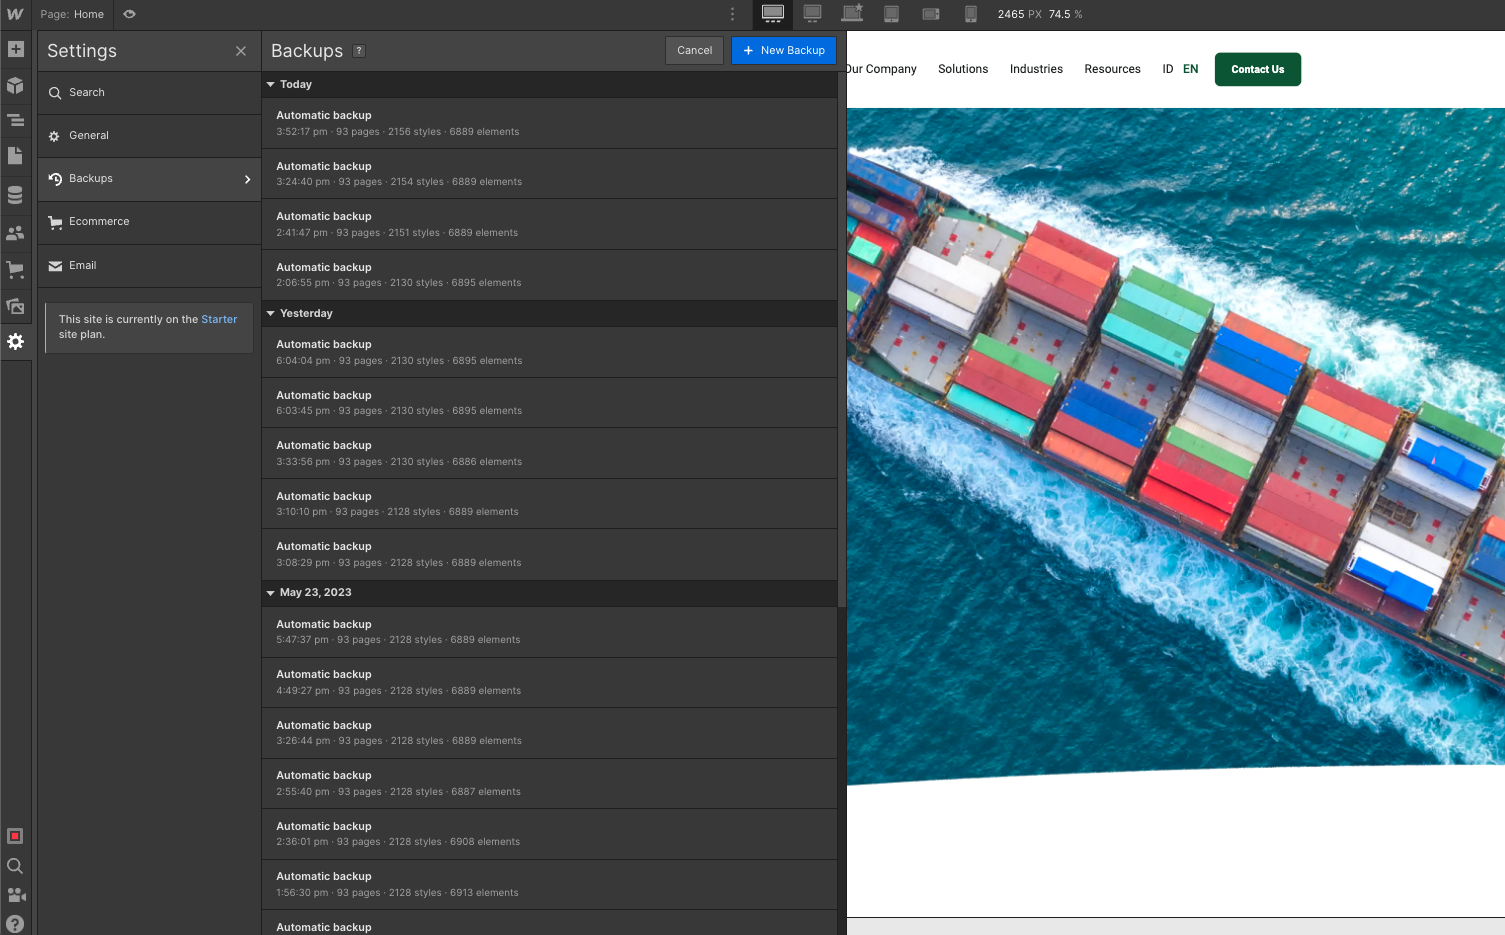
You can find it in the Settings section in the left Sidebar, and then you can just see all the automatic or manual backups. Restoring to the old backup is just a click away.
Editor Mode
Accessing the Editor
You can access the Webflow Editor after publishing your site (either to the webflow.io staging subdomain or a custom domain). It allows you to edit the content on your site directly on the page or manage pages and content through the Editor panel.
Access the Editor through Webflow’s interface
If you're in your Webflow dashboard or designing a site in the Designer, you can access the Editor in one of the following ways:
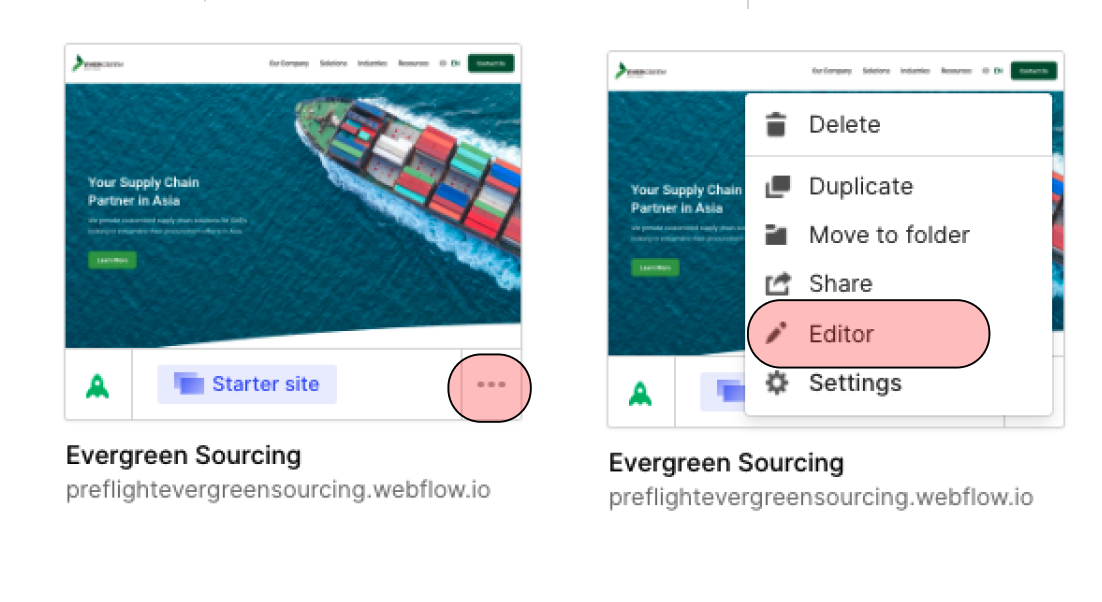
From the top toolbar in the Site settings > Editor

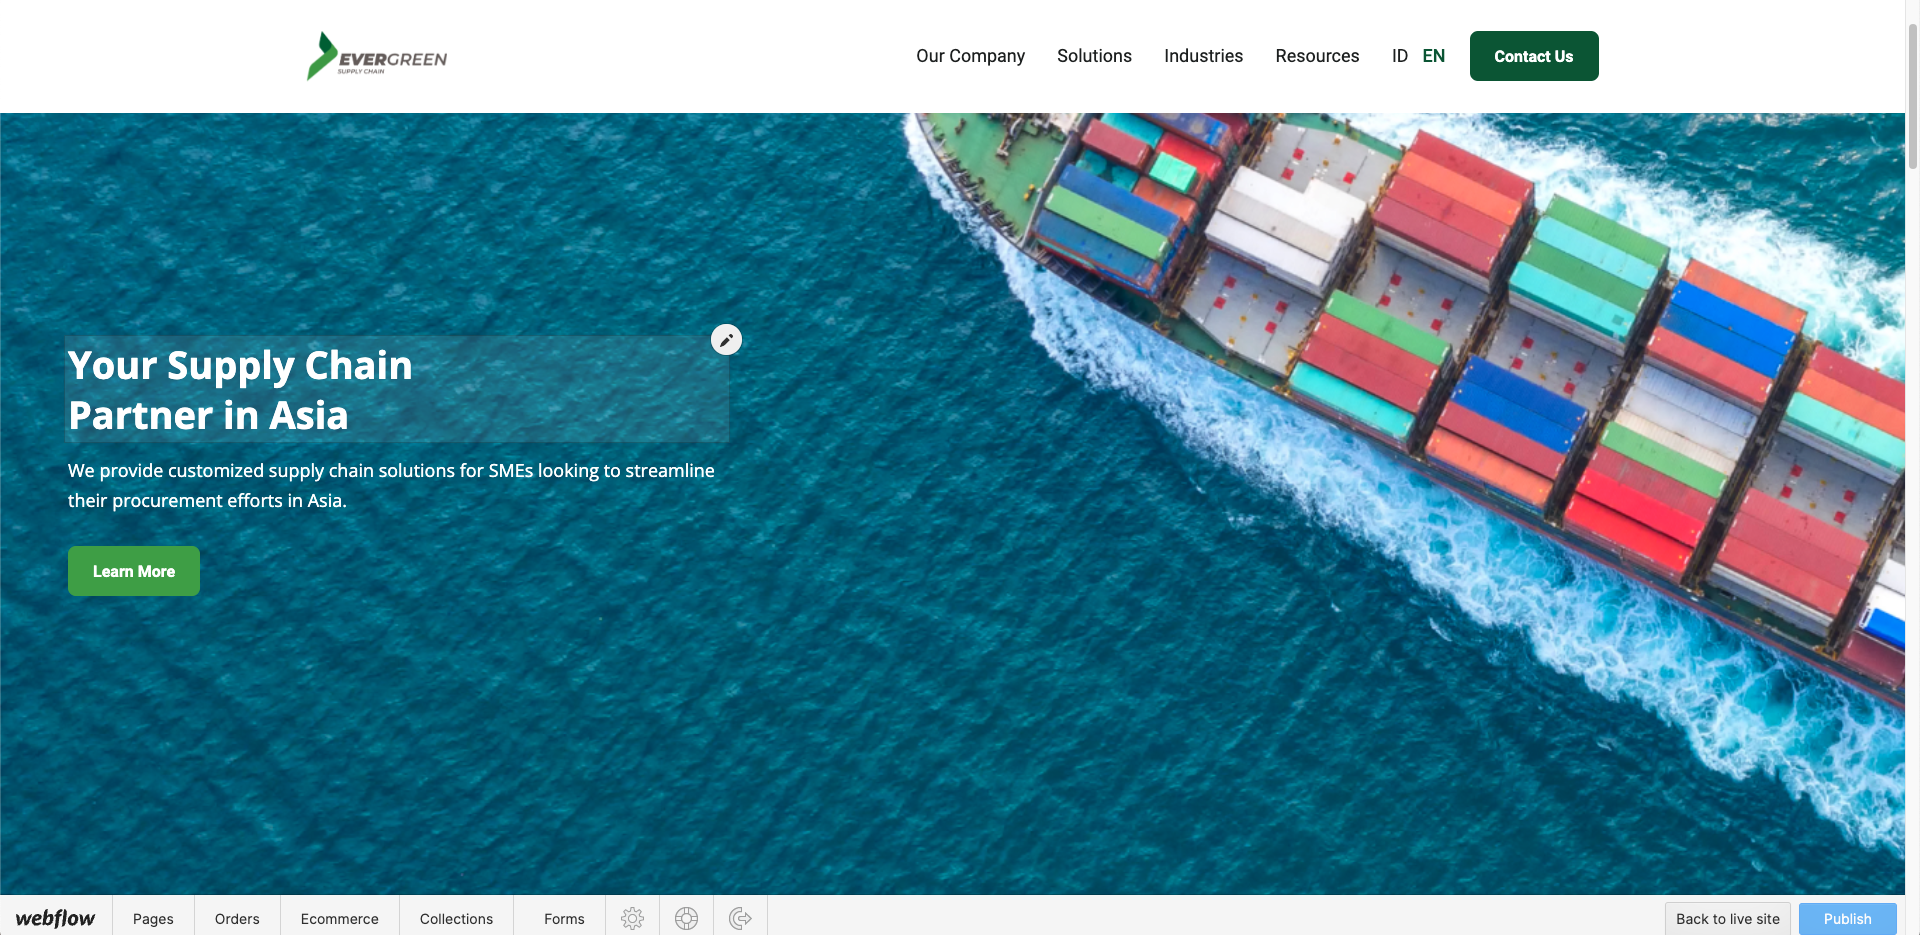
Editing and formatting text
When hovering over editable text elements, you’ll see a light-gray outline around the text element and a "pencil" icon in the upper right. You can edit the text by clicking into the box.
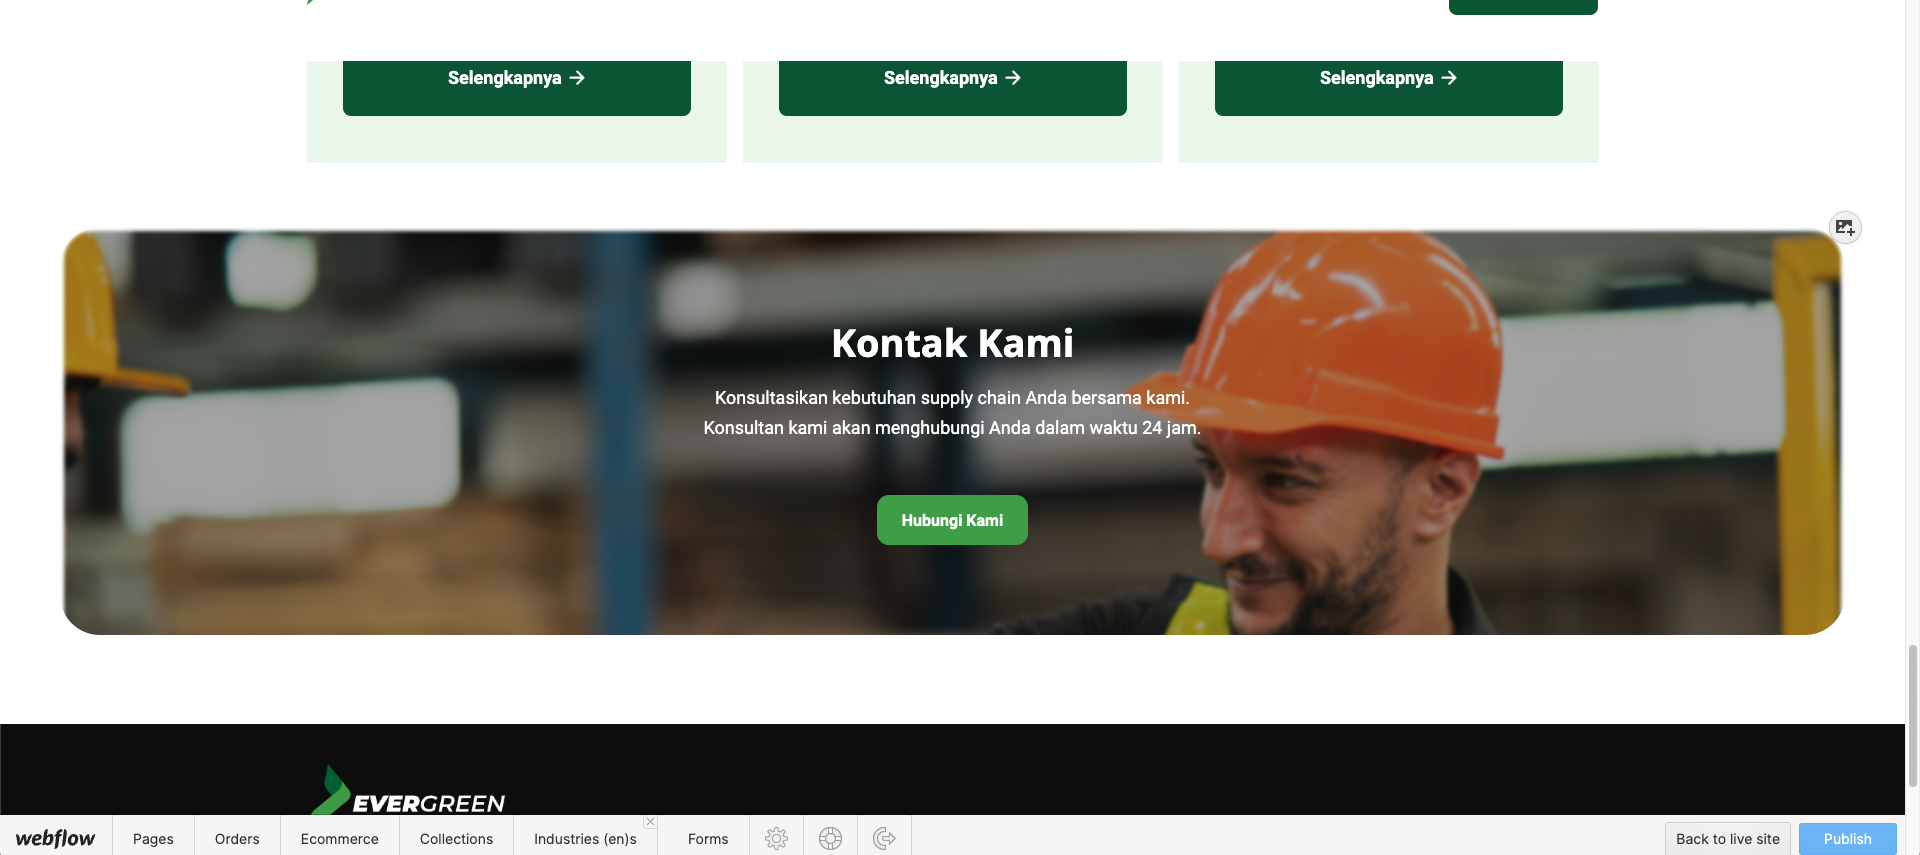
Replacing images
You can also replace images right on the site. Just hover your cursor over the image you want to replace, then click the "picture" icon. This will allow you to select and upload a new image from your computer.
Editing buttons
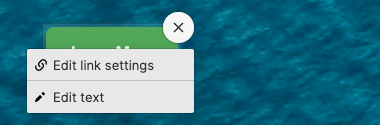
To edit a button element, hover your cursor over the button and click on the Settings "cog" icon that appears in the upper right.
You’ll see two options:
- Edit link settings - lets you update the link of the button
- Edit text - enables you to change the button text
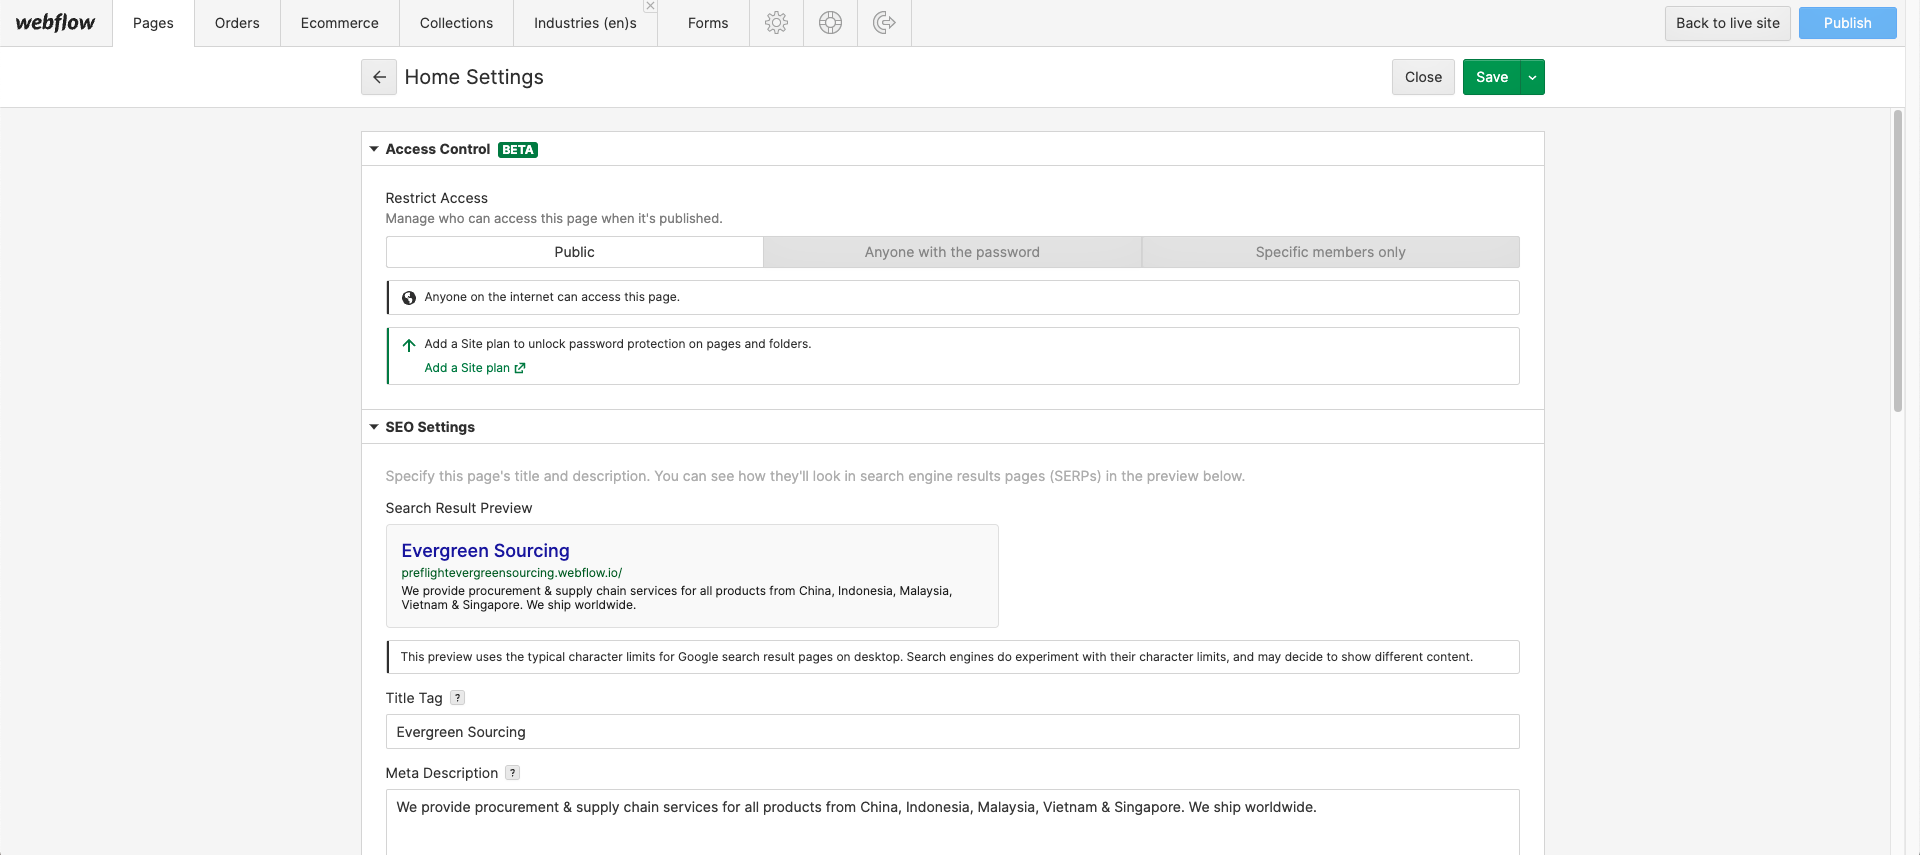
Managing page settings
From within the Pages Panel in the Editor, you can manage vital page settings like SEO meta title and description, Open Graph title and description, and Open Graph image. You can also manage page password protection settings for static pages and RSS feed settings for Collection pages.
To access the settings of a page:
- Open the Pages tab in the Editor panel
- Hover your cursor over a page in the list
- Click the Settings button that appears
You can also search for pages by name using the search bar.

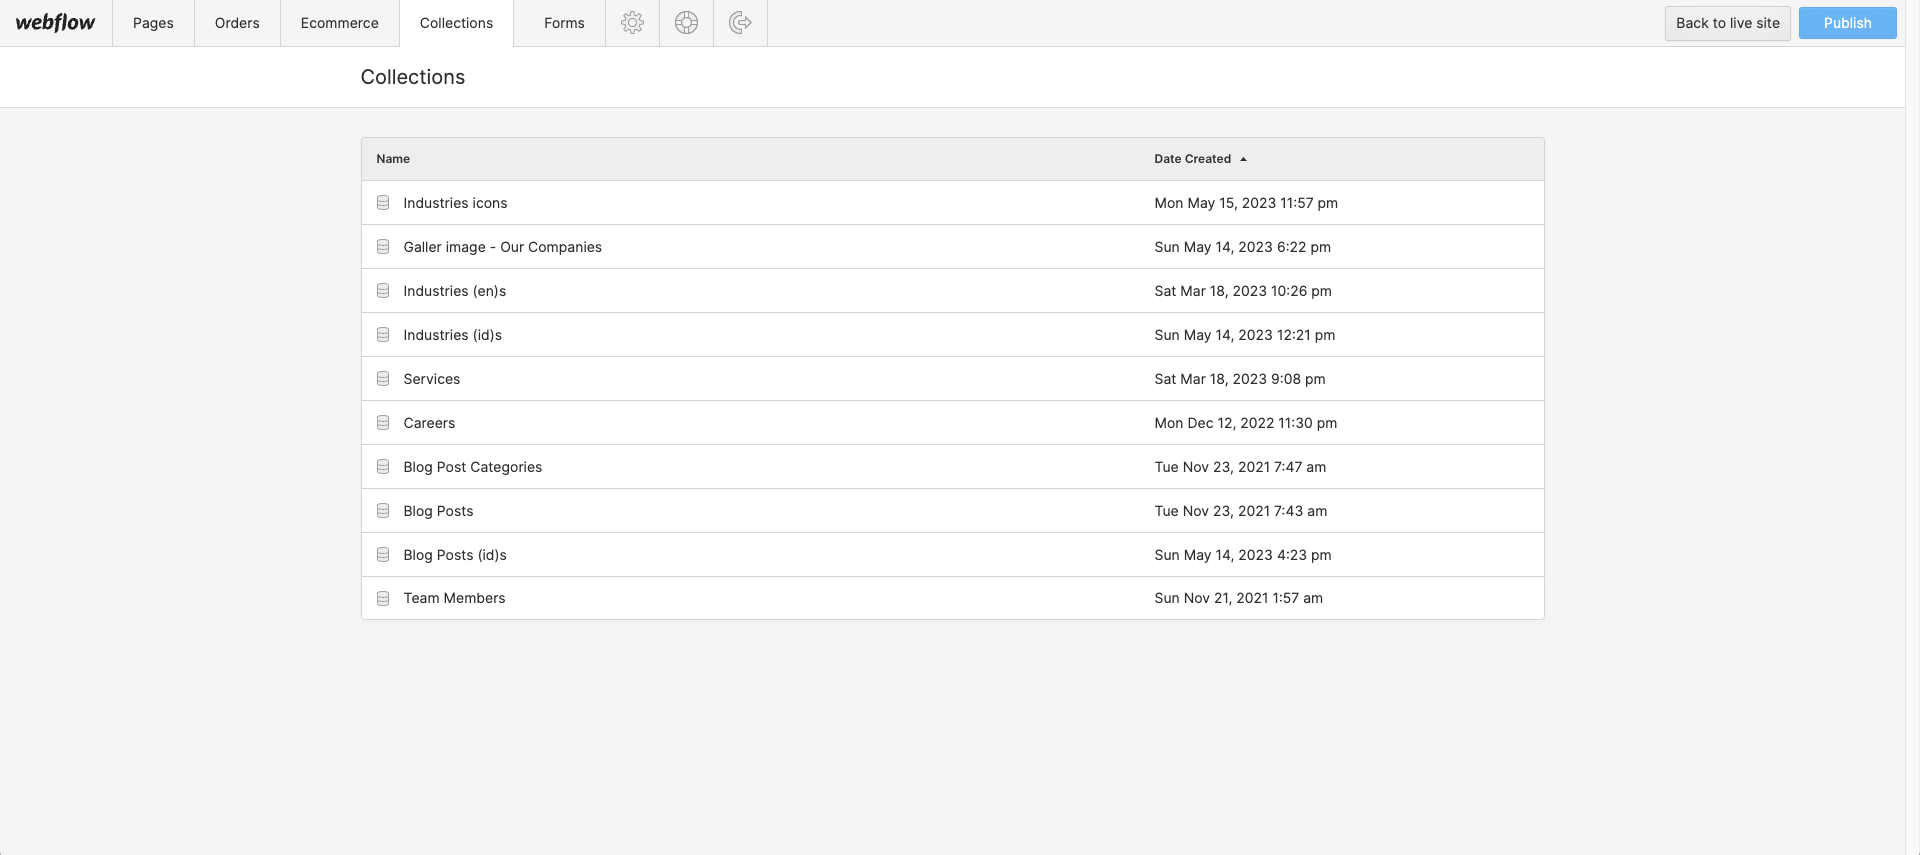
Creating and managing dynamic content
If you have Collections in your site, you can access them in the Editor through the Collections tab. The Collections panel lists all your collections. Clicking on a collection opens a new tab titled the name of the collection. This tab contains all Collection items within that Collection
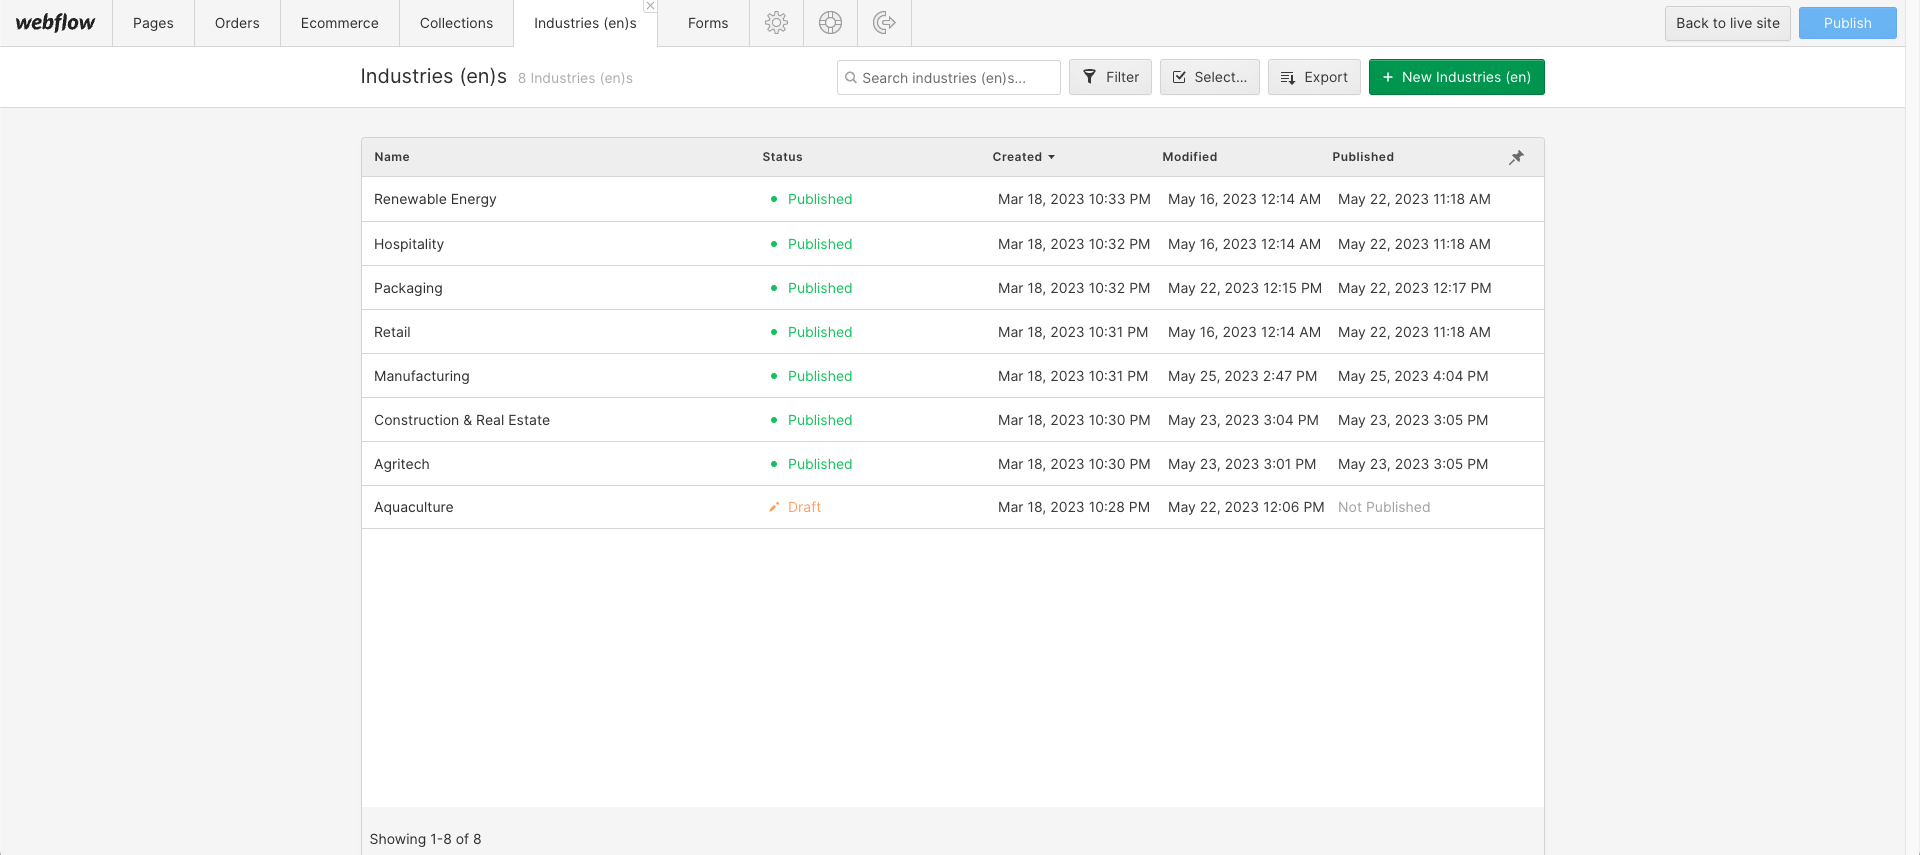
Creating and editing content
You can edit existing items by clicking on them or creating new items by clicking the "New" button and filling out the item’s various fields.
When you’re done entering content or updating fields, you can choose to:
- Create a new item or save an existing item. It will be staged to publish and go live on your site the next time you publish it.
- Publish your item right away (without waiting for the next site-wide publish to take place)
- Save as Draft if you aren’t quite ready for the item to go on the live site
- Cancel to discard changes
Evergreen Website Support
As you could see above, Evergreen was built on Webflow using the best practices to make it very easy for you to edit the template and customize it to your needs.
However, if you ever find any issue, need help, or just want to say hi, feel free to send us at email at hello@idealightsindonesia.com — We will be happy to help you.
Custom Design & Development
On the other hand, if you are looking for help to build an unique and personalized version of Evergreen, or just an amazing website designed & developed from scratch on Webflow, feel free to get in touch with our Webflow Design & Development Agency. The amazing team behind Evergreen Webflow can help you.